Showing posts with label blogger templates. Show all posts

LuLu's New Dress!

>> 28 March 2010

Many of my new readers have been enjoying my series of the modified 3 column Minima template I coded and am giving away under a CC 3.0.

It's basically just your normal 2 column minima with an extra side column.  There's one that's just perfect for free backgrounds by such fabulous designers as 1stFloorFlat, Itkupilli's Cute'n'Cool, the Background Fairy and more.  I call that model the "Skinny" because it's a slender one that fits the design specifications of most free backgrounds.

But I also developed templates with extra elbow room and I call them "Standard" and "Wide".  Think of them as ectomorphic, endomorphic and mesomorphic templates respectively.

Now I'm developing a 3 column Minima with an additional three footer columns much like the ones coded in my template here (scroll down to the bottom of my blog to see!) ⬇

The first to test this new template is my wonderful friend LuLu of Coastal Sisters. You should really have a look at how pretty it is with her new free background she's sporting from the Cutest Blog on The Block.  LuLu's giving this template a beta test for me and will be providing me feedback to let me know how it's working for her.

How about you, dear reader? Would you be interested in testing this template?

Let me know and I'll send you an invite. In only ask that you be willing to test drive this template on your formal blog (not your test blog) for at least 21 days and give me feedback on how it's working for you. To receive an invite just contact me by clicking on the invitation below and type "3+3" in the message box. I'd appreciate it if you'd leave a comment, too. But it's not necessary to receive an invite. I'm only giving away 3 beta invites so hurry! :)


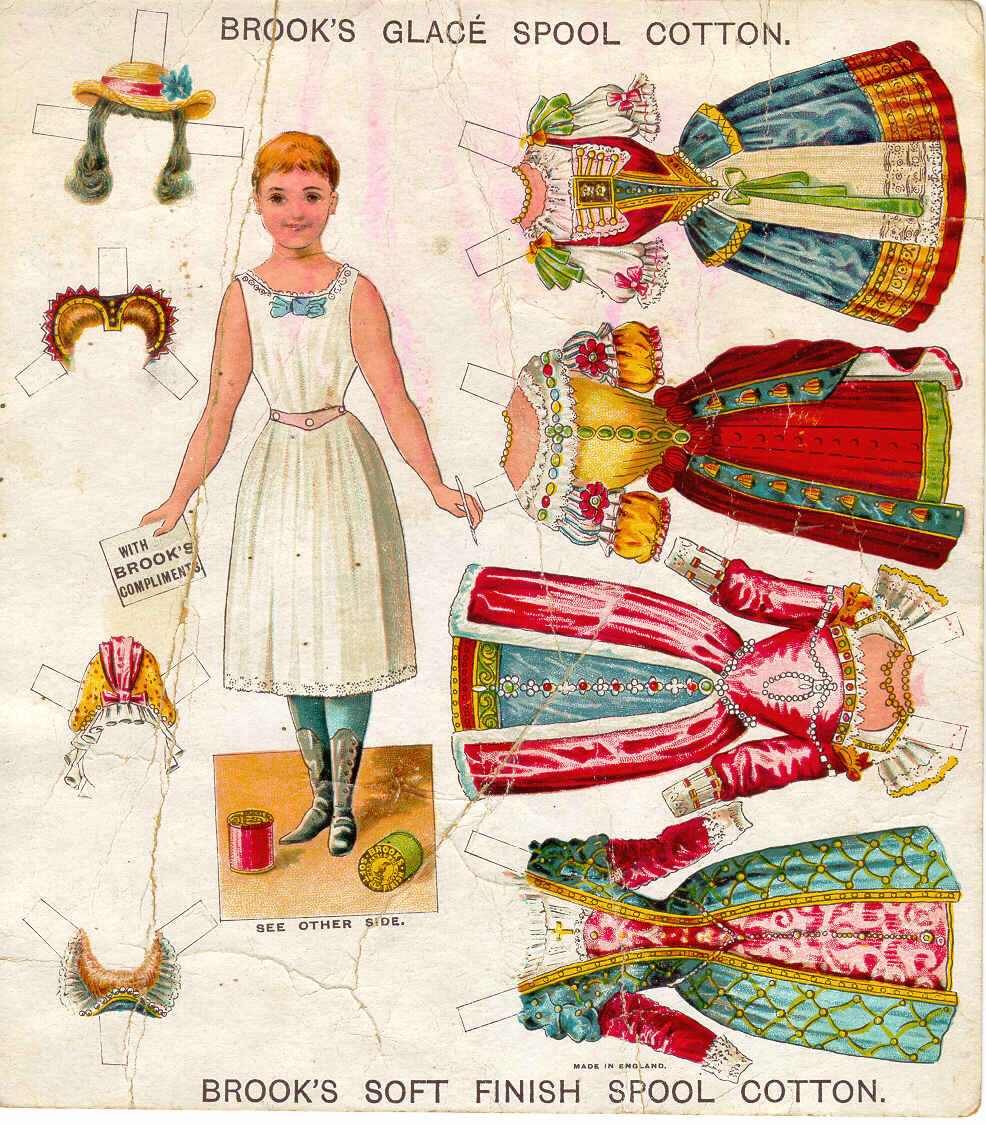
It's funny because when LuLu posted her debut the new template she likened it to a new dress. I think that's so apropos because I feel like templates are a dress form and the free backgrounds that the above referenced designers create are the gowns.  It's when I began to see a lot of ill coded templates -- or rather an "ill fitted" dress forms -- that I got my tailoring skillz (i.e. coding skills) out to help make sure your dress fits your blog perfectly.  To me it's a lot like dressing up paper dolls!

BTW, you can enjoy the paper doll illustrated above compliments of Farah Rahman.


NEW! Blogger In Draft Launches The Blogger Template Designer

>> 16 March 2010


ZOMG!  Blogger is coming at you in a fresh cool way! Last week Blogger In Draft announced a new feature: the Blogger Template Designer!


This is pretty amazing because ever since I started my first Blogspot blog (I'm talkin' pre-Google) their template collection has remained unchanged.  Douglas Bowman from StopDesign has really gotten some mileage off the ubiquitous Minima template which was launched in 2004.  That's a pretty good run for the lifetime of anything on the Web. And while I think it's an elegantly designed classic template, I'm really kinda bored with it.

So Blogger In Draft has rolled out the template designer and that means eventually it's going to be available for all Blogger users. For those of you who don't know, Blogger In Draft is a special version of Blogger in which new features are beta tested before being released to the Blogger community at large.  Through feedback the Blogger team develops features that users want.

If you want to use the Blogger In Draft dashboard just go to http://draft.blogger.com/ and log in as you would normally. If you want to stop using it and go back to “normal” Blogger, simply log in to http://www.blogger.com/ instead. Your blogs and posts are the same regardless of whether you use Blogger in draft or regular Blogger.

When it first launched Blogger In Draft was my default way to blog. Now I switch back and forth between these two features just to see what's up and coming but I usually use the regular dashboard because it's stable whereas draft can sometimes be a little wonky. But then, after all, it is for beta testing.

I really, really like it Blogger in Draft. I think you will, too.


How To Install an .XML File for Blogger in 9 Easy Steps!


Ever since I released my FREE modified 3 column Minima templates for the Blogger/Blogspot platform I've been asked a million questions on how to install'em.

As I've suggested before (and now I'm gonna do it again) Sharnee at YummyLolly.com has a kick-ass tutorial that's all in text. It's concise, well written, and super informative.

But if you're anything like me, I never read the directions. Nope! Not me! I push forward and explore by trial and error.  O_o

Yep! That's how I process and integrate information. It's really true what Marshall Mclaren meant when he said "the medium is the message" because now that we're all connected digitally we are literally changing our brains. I mean there are so many ways to exchange information and ideas it's truly freaking amazing that I can share with  you this little video.

Now some folks learn aurally, others learn visually and still others learn kinesthetically.  I know this because used to teach private post-secondary vocational education and it was my job to make sure my students "got it".  If they didn't, well it was all on me for being a poor communicator.

Anyway, so I created this video for those who learn better by watching and doing.  All you have to do is follow along with me and click the "pause" button when you need to. The same steps in the video are also below.

I know this screen is teeny and it's difficult to see what exactly it is I'm doing. So if you click on the little expander on the menu of the player the video will blow up to full screen and you can see all the details.  If this doesn't work then by all means head on over to my YouTube channel 'cuz I know it will click to full screen there.

Remember: before you begin remember to back up your original template before installing!

Now, here's how you install a new one:

  1. Click on "Download" button and save file to your hard drive.
  2. Extract or "unzip" the file you just downloaded. The .ZIP file opens into an .XML file. UPDATE: 3/17/2010 I no longer zip these files because too many users were complaining they were unable to open them.
  3. Login to your Blogger dashboard.
  4. Click on "Layout" tab in the dashboard panel.
  5. Click on "Edit HTML" menu item.
  6. Click the "Browse" button and look for the extracted .XML file on your hard drive.
    (It may be in your Downloads folder or your desktop.)
  7. Only select the .XML file. Do not select any other type of file.
  8. Click "Upload" button. Be sure to "Keep Widgets" when asked in the pop-up menu.
  9. Confirm this action and hit "Save".
Voila! You have a new template! Woo hoo! U R so kewl!

I may go back later and record a voiceover track for those of you who take in information better through their hearing but we'll see.  Somebody is going to have to request that by contacting me or leaving a comment!

Until then, I look forward to bloggers sharing with me what they've done to customize this modded 3 column Minima template and how they skinned it! 


FREEBIE! New 3 Column Minima Dark Template for Blogger/Blogspot

>> 11 March 2010


Last week I offered up as a PIF item (Pay-It-Forward) on Etsy a free modified Minima template with three columns. As most people know, the original Minima template has only two columns. Now it's available in dark as you can see above. See the live demo here.

Here's the specifications of this template's built-in features:

  • The template is 940px wide with the main column coded at 500px and the side columns at 185px.
  • An additional area for adding gadgets just below the banner. The translation menu I used in this demo is a perfect example. Use this for static (sticky) notes, photos, extra menu bars, widgets, polls, etc.
  • Peek-a-boo navigation bar designed to avoid its interference with your blog's design while simultaneously preserving its functionality. (Click here for instructions on how to replace the navbar if you prefer that it appear in your blog).
  • Numbered comments! Great for contests! (Note: be sure to "keep" widgets when asked in the pop-up window upon importing this template for numbered comments to work correctly. For more help, read this tutorial from Susie Jefferson of 1st Floor Flat).
  • Just like a great pair of jeans, this template also comes in "W-I-D-E" and "skinny" widths!
  • Note: When you install this template the color scheme will revert to the Minima template's original defaults. This is intended for you to customize in order to coordinate with your preferred free background.


Terms of Use: This template free to use under the provision that my name and credits remain intact both at the bottom of this template and within the XML code. Please respect the time, effort and expertise I offer for free in coding this template and the costs of hosting the files on your behalf. By installing this template, you agree to leave this link intact in perpetuity for as long as it's in use in your blog(s). Removal of said credits requires a PayPal donation to glamourbomb(@)gmail.com. That said, enjoy the template and let me know if you have any questions!


Everybody loves to be acknowledged and appreciated. If you enjoy this template please let me know! Some of the best ways to do so are as follows:

  • Write a blog post after installing this template. Tell your friends how awesome it is and where you got it.
  • Heart this item on Etsy.
  • Heart my Etsy shop.
  • Follow me on Tumblr.
  • Follow me on Twitter (I will follow back!).
  • Follow me here on Blogger with Google Friend Connect (I will follow back!).
  • Leave comments on my blog.
  • Join the Glamour Bomb Facebook fan page.
  • Follow Glamour Bomb with the Facebook application "NetworkedBlogs".
Thanks for stopping by and have a magical day!


FREEBIE! New 3 Column Minima Template for Blogger/Blogspot

>> 04 March 2010


Featured here is an image for free modified Blogger/Blogspot Minima template featuring three columns that I coded myself. As most people know, the original Minima template has only two columns. See the live demo here.

Here's the specifications of this template's built-in features:

  • The template is 940px wide with the main column coded at 500px and the side columns at 185px. 
  • Peek-a-boo navigation bar designed to avoid its interference with your blog's design while simultaneously preserving its functionality. (Click here for instructions on how to replace the navbar if you prefer that it appear in your blog).
  • Numbered  comments! Great for contests! (Note: be sure to "keep" widgets when asked in the pop-up window upon importing this template for numbered comments to work correctly. For more help, read this tutorial from Susie Jefferson of 1st Floor Flat).
  • An additional area for adding gadgets just below the banner. The translation menu I used in this demo is a perfect example. Use this for static (sticky) notes, photos, extra menu bars, widgets, polls, etc.
  • Note: When you install this template the color scheme will revert to the Minima template's original defaults. This is intended for you to customize in order to coordinate with your preferred free background.
This template free to use under the provision that my name and credits remain intact both at the bottom of the template and within the XML code.

Just like a great pair of jeans, this template also comes in "W-I-D-E" and "skinny" widths. As always, be sure to back up your current template before installing.

Terms of Use:  This template free to use under the provision that my name and credits remain intact both at the bottom of this template and within the XML code. Please respect the time, effort and expertise I offer for free in coding this template and the costs of hosting the files on your behalf. By installing this template, you agree to leave this link intact in perpetuity for as long as it's in use in your blog(s). Removal of said credits requires a PayPal donation to glamourbomb(@)gmail.com. That said, enjoy the template and let me know if you have any questions!


Everybody loves to be acknowledged and appreciated. If you enjoy this template please let me know! Some of the best ways to do so are as follows:
  • Write a blog post after installing this template. Tell your friends how awesome it is and where you got it.
  • Heart this item on Etsy.
  • Heart my Etsy shop.
  • Follow me on Tumblr.
  • Follow me on Twitter (I will follow back!).
  • Follow me here on Blogger with Google Friend Connect (I will follow back!).
  • Leave comments on my blog.
  • Join the Glamour Bomb Facebook fan page.
  • Follow Glamour Bomb with the Facebook application "NetworkedBlogs".
Thanks for stopping by and have a magical day!


"Mele Kalikimaka" - A Free Blogger Theme From GlamourBomb

>> 28 November 2009


As many of you who have been with me since these past few months, I've been learning how to customize and design my blog. On Halloween I passed forward a Hawaiiana blogger theme I worked on that was based on a template designed by OurBlogTemplates.

I got so much aloha it was wonderful!  So now, just in time for the holidays, I've reconfigured the same template with a Christmas/Hawaiiana theme. It's called (what else?) "Mele Kalikimaka"! You can see a live demo by clicking on the image above.

All the information on how to download it and install it are available on the live demo. While it's completely free, there are some strings attached. The Terms of Use are clearly stipulated within the code.

As I've mentioned, for the past few months I've been teaching myself how to customize my own Blogspot blog and I started playing around with this template by OurBlogTemplates.  I came up with the theme after a girlfriend of mine in Hawaii said she hadn't seen to many blogs in this style. So I made it with her in mind.

This may sound funny, but designing a theme is a lot like figuring out what to wear. I liken it to dressing up a doll! :)

If you don't like my color scheme or background tile feel free to change it. The developer made the template amazingly flexible so you can change the fonts and colors right within the dashboard without having to go into the code.

You'll have to fiddle with the widgets as I've set placeholders within the template using links to my site and others. It's really easy to do and you don't need to know any HTML.

Since I'm not skilled in web design or coding I am unable to offer support if you have any issues from using this template. I advise you to do-it-yourself with OurBlogDesign's tutorial links I've provided within the live demo.

If you've implemented this template and theme in your blog, I invite you to join the "Followers" box at the right side of the sublower bar so that we can network and share the aloha spirit!

Now, if only I could design a nice banner to go with this blog. Hmmmm...does anybody out there have mad banner skillz they wanna contribute? :)

Happy Holy Daze!

How To Remove the Navigation Bar From Blogger

>> 12 November 2009


It's pretty simple to remove the navbar from your Blogger blog. Just follow the directions in the video above cut and paste the following code below into your template.

#navbar-iframe {
display: none !important;
}

Important: Cut and paste the snippet AFTER the credits as indicated in the video but BEFORE the variable definitions code. Let me know how it goes!

Removing the navbar from blogger disables the "follow" feature for your blog. Be sure to include the "follow" widget in your layout if you want to make it easier for others to follow your blog. Likewise, keeping the navbar brands your blog as a Blogger blog which really is a good thing. It means you're part of the the bigger community of bloggers who use this platform as opposed to WordPress or TypePad. According to Wikipedia, Blogger is ranked 16 on the list of top 50 domains in terms of number of unique visitors in 2007 so you're in good company. Leave the navbar on if you like it, remove it if it interferes with your design. Whatever you decide, I hope you found this tutorial useful.

Oh, and BTW... there's still time to enter my current contest giveaway. More information here.

"Hawaiian Style" A Free Blogger Theme from Glamour Bomb

>> 01 November 2009


Now I did it! I done designed my own blogger theme with a free template I got at OurBlogTemplate and a color palette from ColourLovers. I call it "Hawaiian Style" and you can get the XML code and see a live demo by clicking here or on the image above.

The whole story about the theme is in the latest non-latin blog post on the live demo. I just wanted to add in this blog post that I've been feverishly working behind the scenes on my own blog re-design.

It's been challenging because I'm not a natural born geek (I don't have training in coding or web design) and I'm not a graphic artist either. If I were gainfully employed I would hire my old boyfriend at Kapow and pay him tens of thousands of dollars to make me a custom website. But the recession is hitting me hard and that's why I'm learning all I can to come up with my own.

It's a lot of work as many of you know but the experience has been priceless. Along with all the skills I'm learning I've met some incredibly talented artists and designers like Itkupilli, Yummy Lolly, Nymphont, Gisele Jaquenod (and Birdie!), Kevin and Amanda, Coastal Sisters, Susie Jefferson, Two Dresses Studio and many, many more.

So I came up with Hawaiian Style because it's a theme I haven't seen yet. Now granted, I've been spending a lot of time reading and following scrapper bloggers, mommy bloggers, mixed media bloggers and other web designers. I'm sure there are some lovely Hawaiian and tiki themed blog templates are out there. I just haven't seen them in my little neighborhood of the blogosphere so I thought I'd give it a try.

The only part I'm a little worried about is offering support if the user has trouble with it. I'm not really skilled to enough to be giving tech support but I'll certainly do my best.

So mahalo for checking out my latest offering. As always, I'd love feedback.


New Contest Plus Yummy Lolly's Free Blogger Templates

>> 23 October 2009


A few weeks ago I fell in love with digital artist Itkupilli. Her work totally blew my mind and inspired me to customize my own Blogger blog. If you've been reading along with my postings you'll notice I've been changing the look and feel of it like some women change shoes. I can't make up my mind! And I predict I may still continue to tinker with it. I mean all the free templates I've discovered are soooo beautiful I just...can't...help...it!

As I've been crafting my blog and customizing all the columns and widgets and whatnot, I've run into some issues and I needed help. I came across Sharnee from YummyLolly.com who was suuuuuper helpful just in her blogging tutorials alone. But I also reached out to her and asked her a question to which she promptly answered so now Sharnee has become my new best friend! :)

Anyway, we're still working on getting Cristina McAllister's video brochure up for you to see. If you'll recall, she was the winner of my last contest.  It's taking a bit of time but hopefully we'll be able to pull it together for next week. Until then, please enjoy Yummy Lolly's video and if YOU would like to WIN a video of your own work just leave a comment below and tell me what you find absolutely yummy. Come on! Tell me! :).  The deadline is 10/27/2009 at 11:59 pm Pacific Daylight Time. The winner will be selected at random.

Oh, and personally: pie a la mode gets me every time. That's my yummy nom for you! Good luck!

How To Purchase A Custom Domain Name Through Blogger

>> 06 October 2009


This tutorial will show you how to purchase a domain name through Blogger. For those of you new to blogging this means that your Blogger blog will appear at its own domain name (i.e. "http://www.MyGreatBlog.com" instead of "http://MyGreatBlog.blogspot.com". The nice part is that Google makes the process a snap.

I can attest to the ease of setting up your domain name through Blogger as all my previous domains were purchased through GoDaddy and their checkout process is very confusing! Now I'm somewhat of an intermediate level geek -- I love tech -- but even so, I've ended up making purchases for things I don't need when using GoDaddy's bamboozling checkout system.

Another plus if you purchase through Blogger is that the WHOIS ownership of your domain can be made private which is a service that GoDaddy charges extra for! The funny thing is, Blogger is a reseller for GoDaddy so you end up with them anyway but without the extra fees or confusion.

Remember to keep in mind that you just need to buy the domain. You don’t need hosting, because Blogger handles that.

If my tutorial leaves you with some questions, I suggest you go over to Blogger support and see if your problem can be resolved there. If you're still stuck I will try to answer questions via comments left below.

UPDATE 6 October 2009 - I decided to transfer my domain "GlamourBomb.com" which I have at GoDaddy to point to this blog. So I didn't have the option to do the above video for this particular site. I managed to do it successfully but it was a complex procedure. I strongly suggest if you're pointing a GoDaddy name to a Blogger blog to follow these directions carefully. I would make a video but I think it's better if you just do it the way it's laid out out step-by-step.

Related Posts Plugin for WordPress, Blogger...

  © Blogger template by Ourblogtemplates.com. Custom theme by Glamour Bomb, 2009.

Back to TOP